Introduction to F-Gas Training: What to Expect on a Practical Course
A step-by-step look at an F-Gas practical training course — from fitting gauges and recovering refrigerant to pressure testing and system charging.
What Happens on an F-Gas Training Course?
If you are preparing for your F-Gas certification, you have probably spent time studying the theory — the current legal framework, refrigerant properties, GWP values, and leak checking intervals. But what actually happens when you walk into a training centre for the practical side of the course?
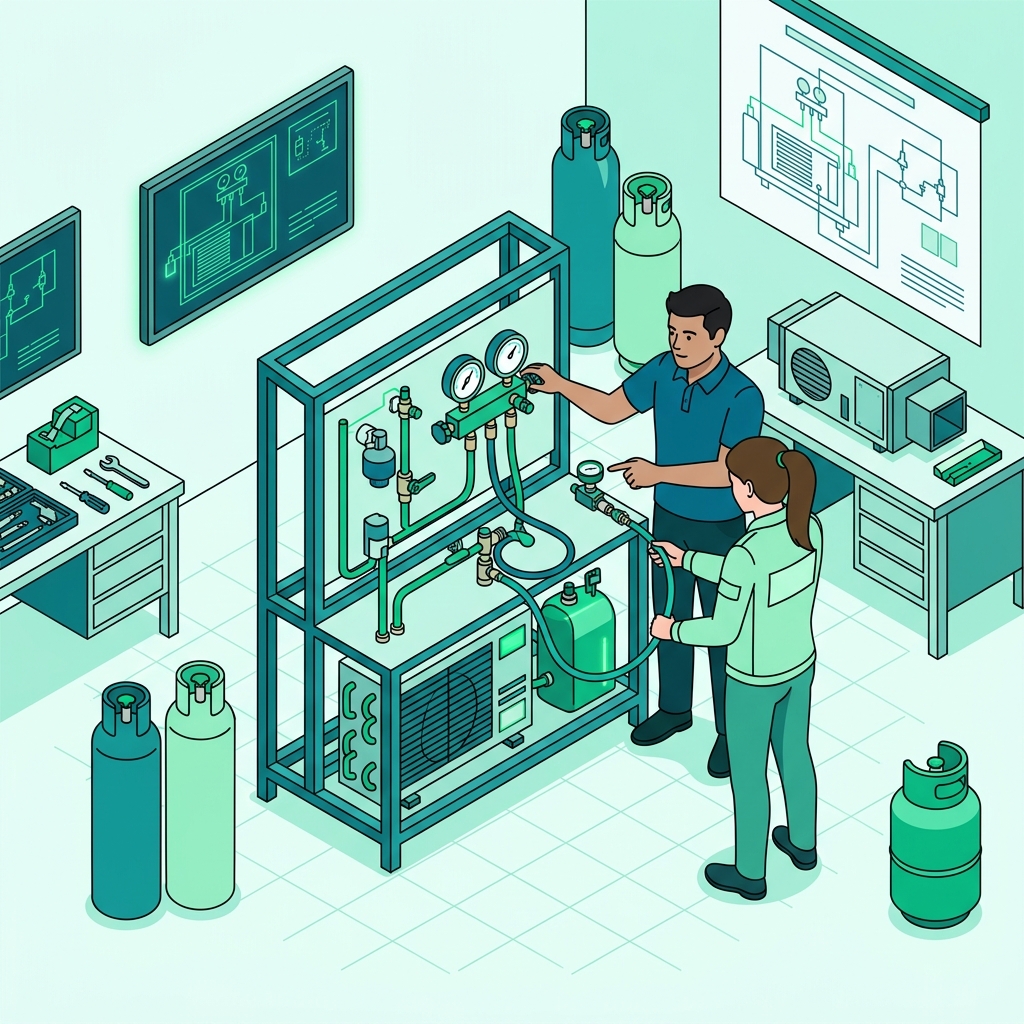
A recent training session filmed at Viva Training with experienced refrigerant trainer Robin — who has over 50 years of hands-on experience working with refrigerants — gives an excellent overview of the practical steps every trainee works through. Let us walk through each stage.
Fitting Gauges and Reading System Pressures
The first task on any practical course is connecting a gauge manifold set to a basic refrigeration system. This is where you start putting theory into practice.
“High pressure side — the pipe work is smaller. This is leaving the receiver, down the liquid line, through a dryer, a sight glass, a solenoid valve, all the way up to the evaporator through the metering device.”
Key points to remember when fitting gauges:
- Red hose connects to the high pressure side (smaller pipework)
- Blue hose connects to the low pressure side (larger pipework)
- The low pressure side always has larger diameter pipes, and the high pressure side has smaller pipes
- Before connecting to the system, you must purge the hoses of air — air must never enter the refrigeration circuit
This directly relates to City & Guilds 2079 Skill Group 1, which covers the basic refrigeration cycle, system components, and their functions. Understanding which side is high pressure and which is low pressure — and why the pipe sizes differ — is fundamental knowledge tested in the exam.
Once the gauges were connected and the system was running, the readings showed:
- Low side: 5.17 bar
- High side: 11.7–11.8 bar
Temperature probes were then fitted to the suction line and the condenser return to compare actual pipe temperatures against the pressure-temperature relationship. This allows you to calculate superheat and subcooling — two critical measurements that tell you whether a system is operating correctly.
Refrigerant Recovery
The next stage simulates a real-world scenario: something is wrong with the system and a component needs to be removed for repair. Before you can break into the circuit, you must recover all refrigerant.
“Remember the whole point of the F-Gas course is to protect the environment from the release of refrigerants.”
Under current F-Gas rules, technicians must recover fluorinated greenhouse gases from equipment before carrying out repairs, servicing, or decommissioning. Deliberate venting is prohibited.
The recovery process involves:
- Connecting a recovery unit and an approved recovery cylinder to the system via the gauge manifold
- Running the recovery unit, which functions similarly to a small refrigeration system, drawing refrigerant out of the circuit
- Bringing the system down to a slight negative pressure so that when lines are disconnected, no refrigerant escapes
This is a core competency tested under Skill Group 3 of the City & Guilds 2079 — recovery, recycling, and reclamation of refrigerants. You need to understand not just how to do it, but why it matters and what the legal requirements are.
Nitrogen Pressure Testing
Once the simulated repair is complete, the system must be pressure tested before any refrigerant is reintroduced. This is done using oxygen-free nitrogen (OFN) — never refrigerant, and never compressed air.
On this training rig, the test pressure was determined by:
- Identifying the refrigerant type (in this case, R-448A)
- Looking up its saturation pressure at 55°C
- For R-448A, this works out to approximately 23 bar, so the rig was tested at 25 bar
“The safety aspect of high pressures cannot be overstated.”
Critical safety equipment for pressure testing includes:
- A correct pressure regulator rated for the test pressure
- A steel safety cable attached to the high-pressure hose
- Eye protection — particles can be blown about when releasing nitrogen
- Hearing protection — nitrogen release creates a loud whistling noise
On this course, the pressure test was then held for about an hour with no pressure drop. In real work, always respect the equipment’s allowable design pressure and the manufacturer’s procedure rather than copying a training-rig number blindly.
Nitrogen is safe to vent to atmosphere — it makes up roughly 78% of the air we breathe — so once the test is complete, it can be blown off. This is in stark contrast to fluorinated refrigerants, which must never be released.
This procedure falls under Skill Group 4 of the City & Guilds 2079, covering installation, commissioning, and pressure testing of refrigeration systems.
System Evacuation
After the nitrogen is vented, residual nitrogen and any moisture remain inside the pipework, compressor, evaporator, and condenser. These must be removed through evacuation using a vacuum pump.
“The worst enemy of a fridge system is air and moisture — so let’s make sure we remove all of that.”
The evacuation process:
- Connect a vacuum gauge and vacuum pump to the system
- Open all valves on the gauge manifold and to the system
- Run the vacuum pump until the rig reaches below 2 Torr
- Isolate the system by closing the manifold valves, then turn off the vacuum pump
- Monitor the standing vacuum — any rise in pressure can indicate a leak, residual moisture, or simple outgassing from the system and hoses
In the training session, the vacuum held at 1.2 Torr after over an hour — an excellent result confirming no leaks and no moisture contamination.
Understanding the difference between a pressure test (checking for leaks at positive pressure) and an evacuation (removing non-condensables and moisture at negative pressure) is a common exam topic. Both are essential, and they serve different purposes.
Charging the System
With the system confirmed leak-free and fully evacuated, it is time to reintroduce refrigerant. This is the final major practical skill covered on the course.
The charging procedure involves:
- Connecting a refrigerant cylinder to the gauge manifold
- Placing the cylinder on electronic scales to measure the exact charge weight
- Feeding liquid refrigerant into the high pressure side of the system — this is the fastest and most efficient method
- Monitoring the charge weight as refrigerant flows in
- Starting the system and using the sight glass as one quick visual check on this particular rig — but confirming the final charge from the weighed refrigerant and the system’s specified operating data
Once charged, the system showed:
- Discharge pressure: 12.5 bar
- Suction pressure: 6 bar
- Evaporating temperature: 9–10°C
- Condensing temperature: 29°C
The final step is patience — letting the system run for 10 to 15 minutes to stabilise before taking final readings and confirming everything is operating within specification.
Charging procedures and the ability to interpret system readings are tested across multiple skill groups in the City & Guilds 2079, particularly Skill Group 1 (refrigeration cycle) and Skill Group 3 (refrigerant handling).
The Golden Thread: Environmental Protection
Throughout every stage of the practical course — from purging hoses before connecting them, to recovering every gram of refrigerant, to pressure testing before recharging — there is one constant theme:
“The main cause of all this is the F-Gas course, and the reason for the F-Gas course — it’s fluorinated refrigerants and the control of damage to the environment. That’s the important part of this course.”
The F-Gas Regulation exists to minimise the release of fluorinated greenhouse gases. Every practical procedure you learn is designed around this principle. When you sit your exam, understanding the why behind each procedure is just as important as knowing the how.
How F-Gas Exam Prep Fits Into This
Watching a practical walkthrough is valuable, but passing the City & Guilds 2079 exam requires you to translate that hands-on understanding into correct answers under timed conditions. That is exactly what the F-Gas Exam Prep app is built for.
- 460+ exam questions covering all skill groups — from basic refrigeration theory and the pressure-temperature relationship through to recovery procedures, pressure testing, evacuation, and charging
- Mock exams that mirror the real City & Guilds 2079 format — 40 questions in 80 minutes, so you can practise under realistic conditions and track your progress
- AI voice challenges for interactive revision — test your knowledge conversationally, which is particularly useful for reinforcing practical procedures like the ones covered in this article
- Detailed explanations for every answer — understand not just what the correct answer is, but why it is correct and how it connects to the F-Gas Regulation and real-world practice
Whether you are about to attend a practical training course or have just completed one, working through targeted practice questions will help you consolidate what you have learned and identify any gaps before exam day.
Related Study Topics
Basic Thermodynamics
Fundamental physics of refrigeration including SI units, pressure, temperature, heat transfer, and energy concepts essential for understanding HVAC systems.
Skill Group 3Pre-Operation & Maintenance Checks
System checks before commissioning, routine maintenance procedures, pressure testing, and evacuation of refrigeration and air conditioning systems.
Skill Group 5Refrigerant Handling & Recovery
Proper procedures for recovering, recycling, and reclaiming refrigerants, including equipment requirements and regulatory obligations.
Skill Group 10Pipework & Brazing
Copper pipework installation, brazing techniques with nitrogen purge, pipe sizing, insulation, and connection types for refrigeration systems.
Start Practising Today
Download the F-Gas Exam Prep app and study with 460+ practice questions, mock exams, and detailed explanations.