Gauges, Pressures and Temperatures: How to Check a Refrigerant Charge
Learn to read manifold gauges, use a pressure-temperature chart, identify what is in a cylinder and check charge by subcooling or superheat.
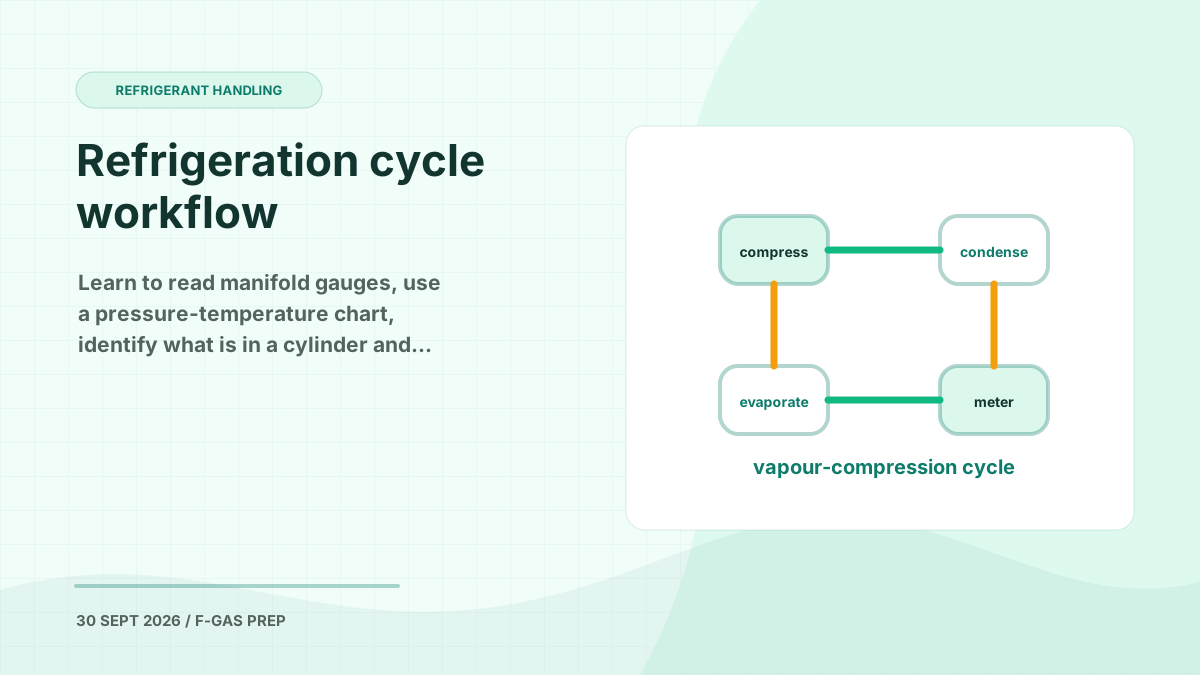
Every refrigerant-handling task, from the leak check required under Article 4 of Regulation 517/2014 to the recovery required under Article 8, starts with the same two instruments: a manifold gauge set and a thermometer. In this AC Service Tech training video, Craig Migliaccio walks new technicians through reading compound gauges, converting pressure to saturated temperature, identifying what is in a cylinder and finally checking the charge of a running system. The video uses US units, so I have added metric equivalents throughout. The principles are exactly what City & Guilds 2079 Skill Group 1 (basic thermodynamics) and Skill Group 4 (leak checking) expect you to know.
Reading a compound manifold gauge set

The blue gauge is the low-pressure side, also called the suction or vapour side. It is a compound gauge: it reads positive pressure on one scale and vacuum in inches of mercury (or millibar on metric sets) on the other, which is why it is the gauge you watch during evacuation. The red gauge is the high-pressure side, the liquid line, and its scale runs much higher, so the graduations are more tightly packed.
Two details trip up new technicians:
- Graduation size. On the analogue set in the video each small mark is 5 psig, roughly 0.35 bar. Count the marks between the printed numbers before you read a value, and expect the red gauge to be harder to read precisely than the blue one.
- The inner rings. Beneath the pressure scale sit coloured rings for specific refrigerants, in this case R22, R410A and R404A. These rings are a simplified pressure-temperature chart printed onto the dial. You read the pressure on the outer ring, then drop straight in to the ring for your refrigerant to read the saturated temperature.
“Keep in mind that if you had a digital gauge set it’s going to convert the pressure to saturated temperature for you.”
Digital manifolds remove the arithmetic, but the assessor at your 2079 centre will still ask you what the number means.
Saturated refrigerant and the pressure-temperature chart

A refrigerant is saturated whenever liquid and vapour exist together in the same space. In that state, pressure and temperature are locked to each other: fix one and the other is fixed too. That is the whole basis of a pressure-temperature (PT) chart, and it is the single most examined idea in Skill Group 1.
The video makes the point with one reading on both gauges. At 169 psig, about 11.7 bar gauge, the saturated temperature is 89 °F (32 °C) if the refrigerant is R22 but only 59 °F (15 °C) if it is R410A. Same pressure, wildly different temperature, so you must know the refrigerant before the gauge reading means anything.
To use a printed chart you need either a pressure or a temperature to start from. Given an ambient of 78 °F (25.5 °C), the chart says an R410A cylinder should sit at about 229 psig (15.8 bar gauge), while an R22 cylinder at the same temperature should read about 139 psig (9.6 bar gauge).
Key point: Blends such as R410A and R404A show a small glide between bubble and dew points. Gauge rings and simple charts usually print the dew point, which is what you want for superheat; use the bubble point for subcooling. Newer A2L blends like R32 and R454B follow exactly the same rule.
Checking a cylinder before you use it
Here is the practical trick. Put a gauge on a cylinder that has stood in a room for several hours. Read the pressure, convert it to saturated temperature for the refrigerant on the label, and compare it with a thermometer reading on the cylinder shell. Three outcomes are possible:
- Saturated temperature equals ambient. The cylinder contains pure, saturated refrigerant. It does not matter whether the cylinder is nearly full or nearly empty; as long as any liquid remains, the pressure is the same.
- Saturated temperature is well below ambient. Only vapour is left. In the video, a cylinder with no liquid converted to 40 °F (4 °C) against an ambient of 75 °F (24 °C). It is effectively empty.
- Saturated temperature is above ambient. The cylinder is contaminated with non-condensables. A reading of 259 psig (17.9 bar gauge) converted to 86 °F (30 °C) in a 78 °F (25.5 °C) room. Air has been drawn in, most likely through a leak on a system that was recovered from.
“Even if the bottle has a refrigerant tag, make sure to check the saturated temperature of the refrigerant in the bottle before use.”
This matters under Regulation 517/2014 as well as for good practice. Article 8 requires recovered refrigerant to be handled for recycling, reclamation or destruction, and mixed or contaminated refrigerant cannot be reused on a customer’s system. Recovery cylinders carry a yellow shoulder and grey body, and every one should be tagged with its contents. If the tag is missing, identify the contents before you do anything else, using this pressure-temperature comparison or an electronic refrigerant identifier. This is core Skill Group 5 material: environmentally friendly handling of refrigerants and recovery.
What an equalised system tells you before you switch it on
A system that has been off for a while, with a fixed-orifice metering device, equalises so that both gauges read the same pressure. A thermostatic expansion valve may hold a small difference, so do not expect perfect equalisation there.
“If the high side and the low side gauge match in pressure, the entire system is within the saturated state.”
That single reading is a free diagnostic:
| Converted saturated temperature vs ambient | What it tells you |
|---|---|
| Matches ambient (76 °F / 24 °C in the video) | Refrigerant is saturated and uncontaminated |
| Far above ambient (95 °F / 35 °C at ~297 psig) | Non-condensables present, system contaminated |
| Far below ambient (36 °F / 2 °C at 110 psig) | No liquid left, system has lost most of its charge |
The last case is an obvious leak-check trigger. Under Article 4 of the F-Gas Regulation, equipment containing 5 tonnes of CO2 equivalent or more must be leak checked at intervals, and if you find it has lost its liquid you must find and repair the leak before recharging, then recheck within a month. Do not simply top it up.
Before you trust any of this, confirm the refrigerant type from the outdoor unit rating plate, the compressor label or the expansion valve head. Rating plates bleach in sunlight and can be unreadable, in which case an identifier is the safe answer.
Important: Never assume the refrigerant. Connecting the wrong gauge ring, or worse, adding the wrong refrigerant, creates a mixed charge that cannot be reclaimed and is a breach of your obligations under Article 8.
Checking the charge by subcooling
Before checking a running system, the video lists the preconditions: correct indoor airflow, known metering device, known refrigerant and 10 to 15 minutes of running time to stabilise. Then the method depends on the metering device. With a thermostatic expansion valve you use subcooling, because the valve is controlling evaporator superheat for you. This links directly to Skill Group 9, the thermostatic expansion valve, and Skill Group 7, the condenser.
Subcooling is the saturated condensing temperature from the red gauge minus the actual liquid-line temperature. In the video:
- Saturated condensing temperature for R410A: 104 °F (40 °C)
- Liquid line temperature: 92 °F (33.3 °C)
- Subcooling: 12 °F, about 6.7 K
The target subcooling comes from the rating plate or the inside of the service panel. Where none is published, the video suggests 11 °F (roughly 6 K) for single-speed and two-speed cooling-only units. Interpretation is simple:
- Actual below target: undercharged, add refrigerant (after finding the leak).
- Actual above target: overcharged, recover refrigerant.
- Within plus or minus 3 °F (about 1.5 K) of target: charge is correct.
Checking the charge by total superheat
On a fixed-orifice system, a piston or a capillary tube, there is no valve controlling superheat, so superheat becomes the charge indicator. Measured at the outdoor unit it is called total superheat: the actual vapour-line temperature minus the saturated evaporating temperature from the blue gauge.
“You’ve got to remember that it’s the actual line temperature minus the saturated temperature. When we were working in subcooling it was the saturated temperature minus the actual temperature.”
In the video, 56 °F on the vapour line minus 42 °F saturated gives 14 °F, about 7.8 K, of total superheat.
The target is not a fixed number. It depends on load, so you must measure the indoor wet-bulb temperature close to the evaporator and the outdoor dry-bulb temperature in the shade, about 30 cm from the condenser inlet and away from the hot discharge air. Feed both into a target superheat chart or an app; 68 °F wet bulb and 85 °F dry bulb gave a target of 19 °F (10.5 K). Because the system dries the indoor air as it runs, wet-bulb drops and the target moves, so keep re-measuring while you work.
- Total superheat above target: undercharged.
- Total superheat below target: overcharged.
- Within plus or minus 2 °F (about 1 K): correct.
Either way, if you need to add refrigerant, find and fix the leak first. Both Regulation 517/2014 and your 2079 assessor will expect that order.
How F-Gas Exam Prep Fits Into This
Everything in this video, saturation, PT charts, cylinder identification, superheat and subcooling, is examined in the City & Guilds 2079 theory paper and probed again in the practical. The F-Gas Exam Prep app gives you a structured way to lock it in:
- 370+ exam questions across all skill groups, including Skill Group 1 thermodynamics, Skill Group 4 leak checking and Skill Group 5 recovery, so you practise the exact concepts covered here.
- Mock exams that mirror the real City & Guilds 2079 format, with the same mix of regulation, science and practical questions, timed as you will face them.
- AI voice challenges for interactive revision, so you can talk through superheat and subcooling calculations out loud, the way an assessor will ask you to.
- Detailed explanations for every answer, so a wrong guess on a pressure-temperature question becomes a lesson rather than a lost mark.
Put the gauges on a cylinder in your van tonight, convert the reading, compare it with the room temperature and then run a quiz on the Basic Thermodynamics topic. Doing the physical check and the exam questions together is the fastest way to make this second nature.
Start Practising Today
Download the F-Gas Exam Prep app and study with 460+ practice questions, mock exams, and detailed explanations.

